Week 2: Computer Aided Design
2D Graphics
2D Graphics: Raster vs Vector
2D graphics are images represented in two dimensions — height and width — and are used extensively in digital fabrication. There are two primary types of 2D graphics: raster and vector.
Raster Graphics are made up of a grid of pixels. Each pixel holds a color value, and together they form detailed images. However, raster images lose quality when scaled. They are best for photos and complex visuals.
Common raster formats: JPG, PNG, GIF, BMP
Vector Graphics are based on mathematical equations that define points, lines, curves, and shapes. They are resolution-independent, meaning they can be scaled infinitely without losing quality. Vectors are ideal for tasks like laser cutting, engraving, and vinyl cutting because they provide precise paths for machines to follow.
Common vector formats: SVG, DXF, AI, EPS
Comparison Table
| Feature | Raster | Vector |
|---|---|---|
| Made of | Pixels | Mathematical paths |
| Scalability | Low (pixelates when zoomed) | High (scales perfectly) |
| Best for | Photographs, detailed images | Logos, CAD drawings, laser cutting |
| File Formats | JPG, PNG, GIF | SVG, DXF, AI |
| Software | Photoshop, GIMP | Inkscape, Illustrator, Fusion 360 |
Gimp (Raster Graphics)
GIMP (GNU Image Manipulation Program) is a powerful open-source raster graphics editor used for tasks such as photo retouching, image editing, and graphic design. It supports various file formats and offers a wide range of tools for manipulating images.
To get started with GIMP, I downloaded it from the official website and installed it on my computer. After installation, I opened GIMP and familiarized myself with its interface.
GIMP provides a variety of tools for editing images, including selection tools, paint tools, transform tools, and filters. I explored these tools to understand their functionalities.
GIMP Basics: Layers, Alpha Channel, and Selections
1. What Are Layers?
In GIMP, layers are like transparent sheets stacked on top of each other. Each layer can hold different elements (text, images, effects), and the order of layers affects what you see.
- Top layers visually cover bottom layers.
- You can move, edit, or hide layers independently.
- Think of layers as slides in a projector stack.
2. What Is the Alpha Channel?
The Alpha Channel controls a layer’s transparency. If a layer has an alpha channel, parts of it can be fully or partially transparent.
Without an alpha channel, you can't erase to transparency — you'd erase to a solid background color instead.
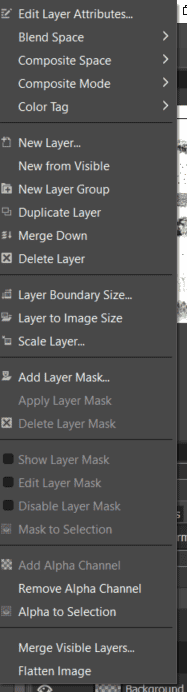
To add an Alpha Channel: Right-click the layer in the Layers panel → Add Alpha Channel.
3. What Is Alpha Selection?
Alpha Selection lets you select non-transparent parts of a layer based on its alpha channel.
This is useful for selecting complex shapes (like logos or cutouts) without manually tracing.
To use it: Right-click the layer → Alpha to Selection.
- This creates a selection around visible pixels.
- Great for copying or outlining objects.
4. Other Useful Basics
- Move Tool: Use
Mto move layers or selections. - Scale Tool: Use
Shift + Tto resize a layer or selection. - Selection Tools: Use rectangle, ellipse, lasso, etc., to isolate parts of an image.
- Undo: GIMP has multiple levels of undo. Use
Ctrl + Z. - Exporting: Save your work with transparency using
.PNGor.XCFformats.
5. Tips
- Always name your layers for easier navigation.
- Use layer groups to organize complex projects.
- Use layer masks to hide parts of layers non-destructively.
Logo Design in Gimp
To test out what I had learned I went with creating a simple logo.
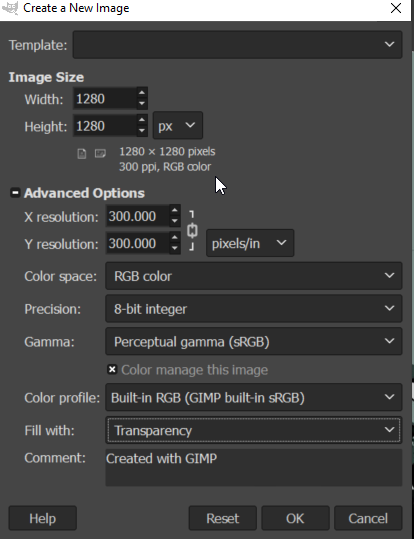
I started by creating a new project and setting the background to transparent.
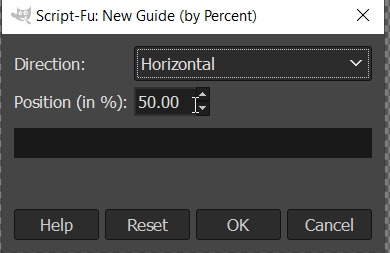
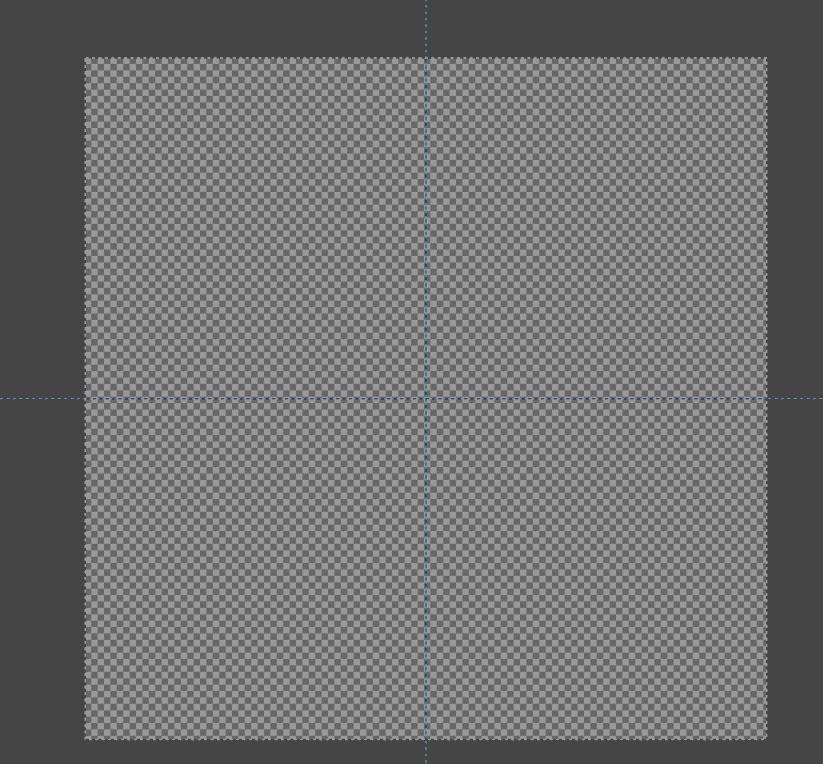
Then I set vertical and horizontal guides by going to image>guides>new guides by percent
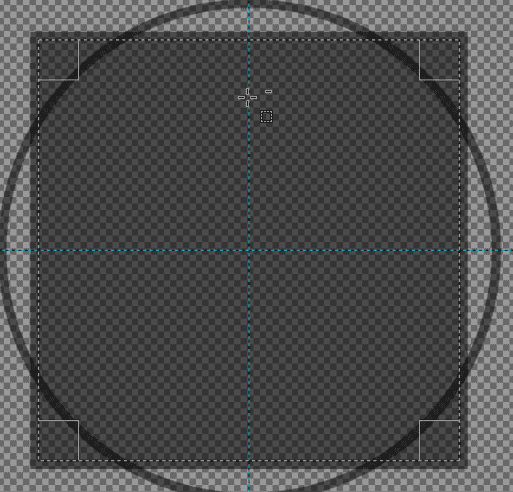
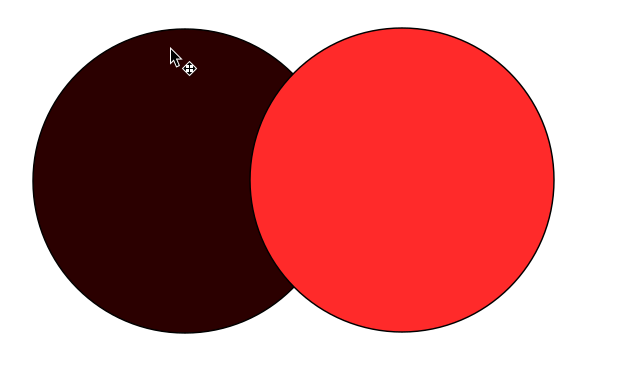
I then created a circle and set it to the foreground colour.
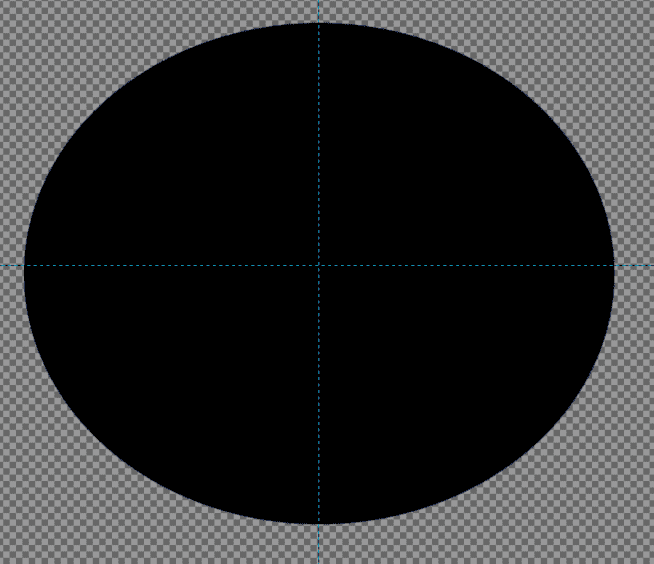
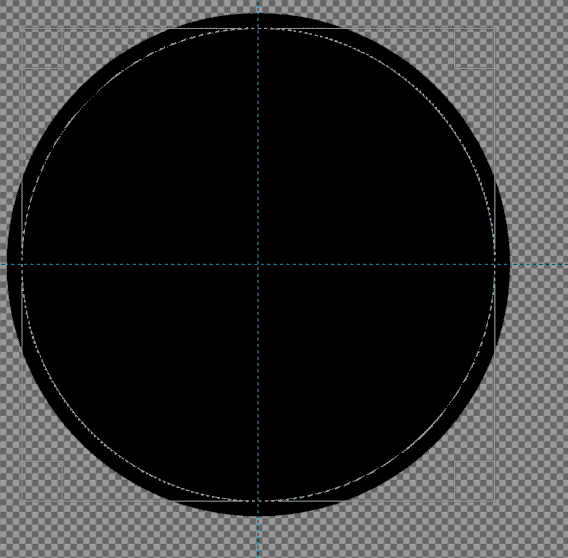
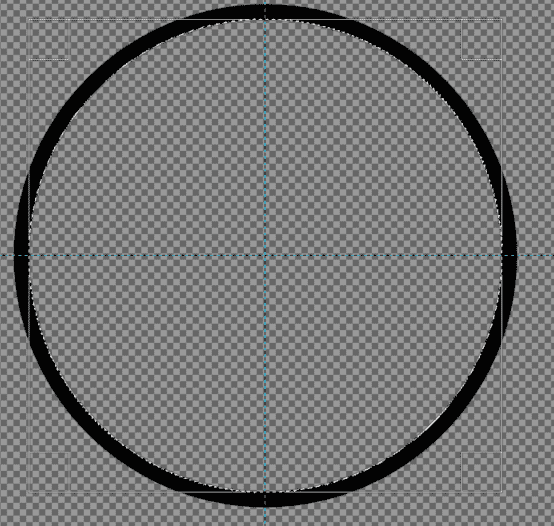
Afterwards, I created a new circle slightly smaller then the other one and placed it on top of the old one and pressed delete.Also, I changed the opacity to 50% so its easier to see other layers.
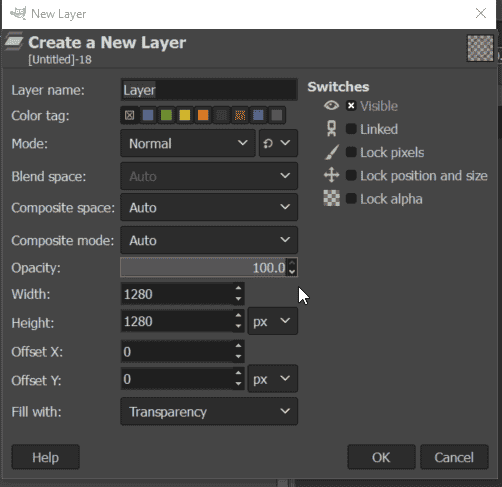
Then, I created a new layer.
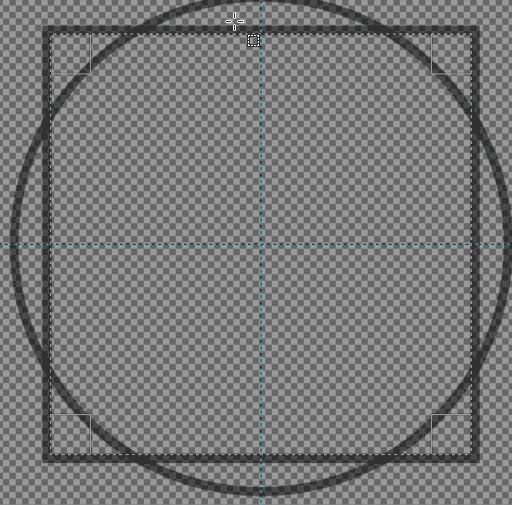
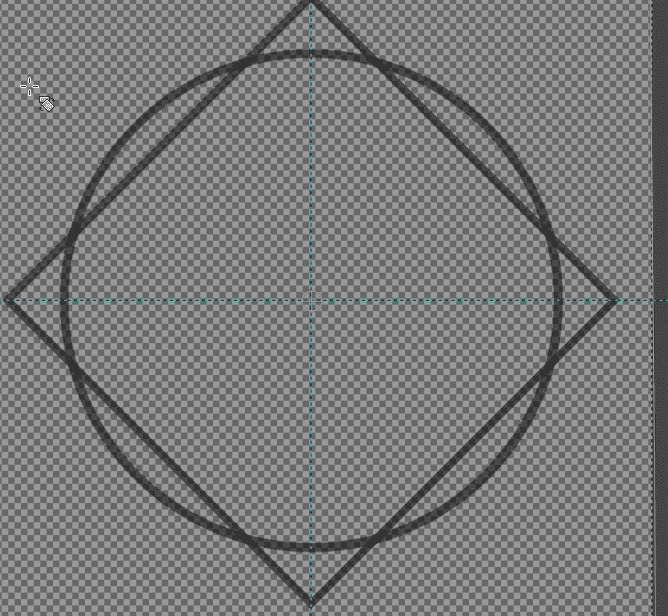
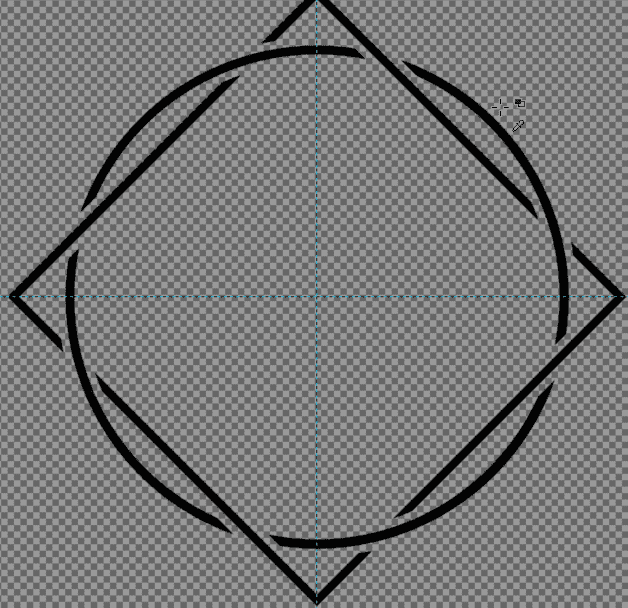
Then I created a square whose corners were outside the circle and repeated a similar process for the circle to eliminate the inside and then roatated it.
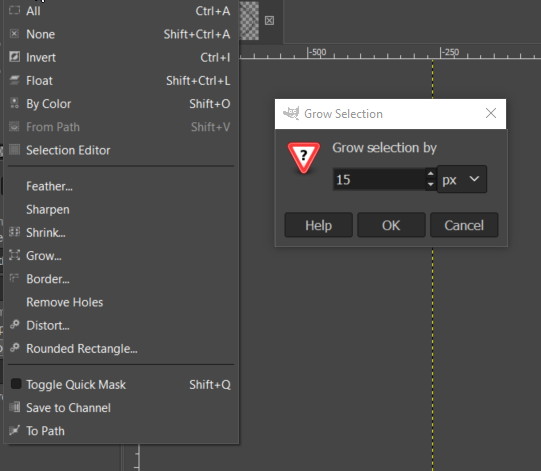
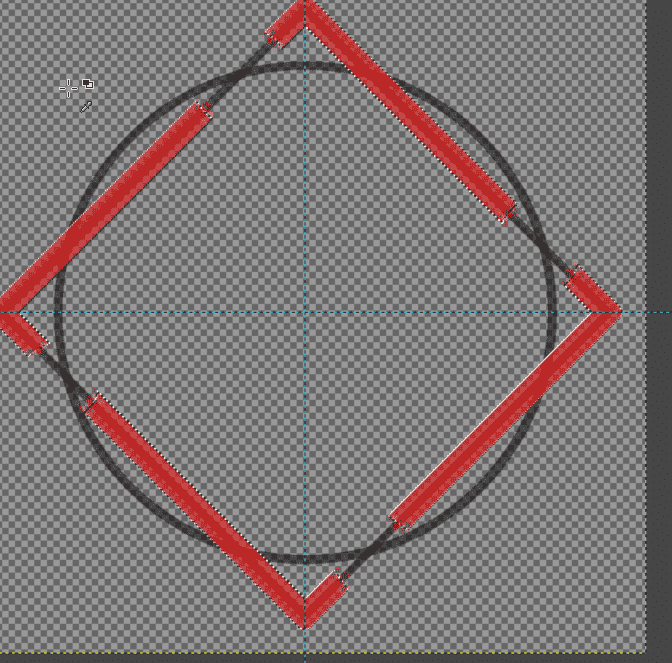
I then created a new layer and right clicked the layer below it and selected alpha to selection. This seleted the square. Now, I went to select and pressed on grow. I enlarged it by 15px which caused the square to grow by 15px and changed its colour to red so its easy to see.

Afterwards, I selected the eraser tool and erased the areas that of the rectangle that overlapped with the circle near the corners.
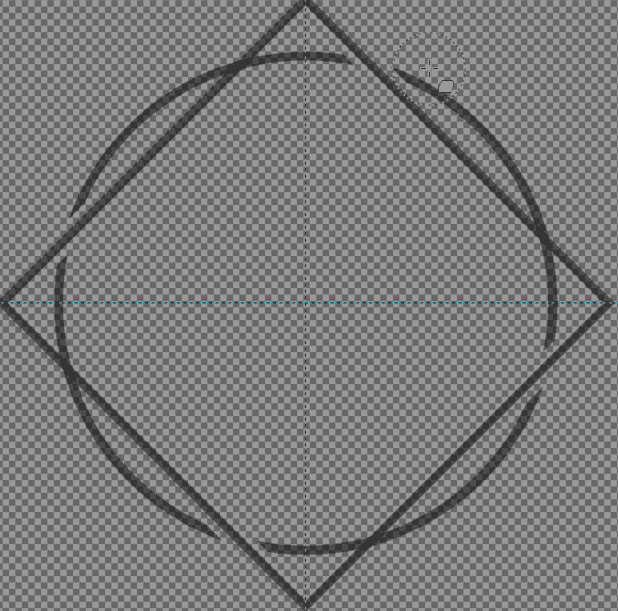
Then I right clicked the layer and selected alpha to selection and then deleted the layer. Afterwards, I went to the original layer and pressed delete which deleted the overlapping areas I erased.
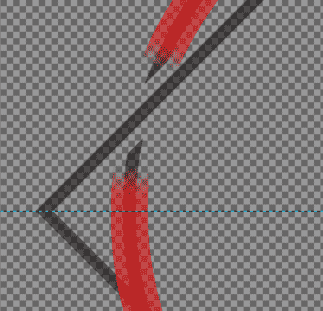
Now to make it look like the circle was going over the square, I repeated the process of enlarging it by 15px and changed the colour to red. Then all the same steps were followed in which I erased the overlapping red areas and then Right-clicked on the layer and selected alpha to selection and went to the middle layer and pressed delete and lastly delted the red layer.
Afterwards, I just selected the text tool and wrote logo and fab lab and aligned it.The following is the final result of the logo.
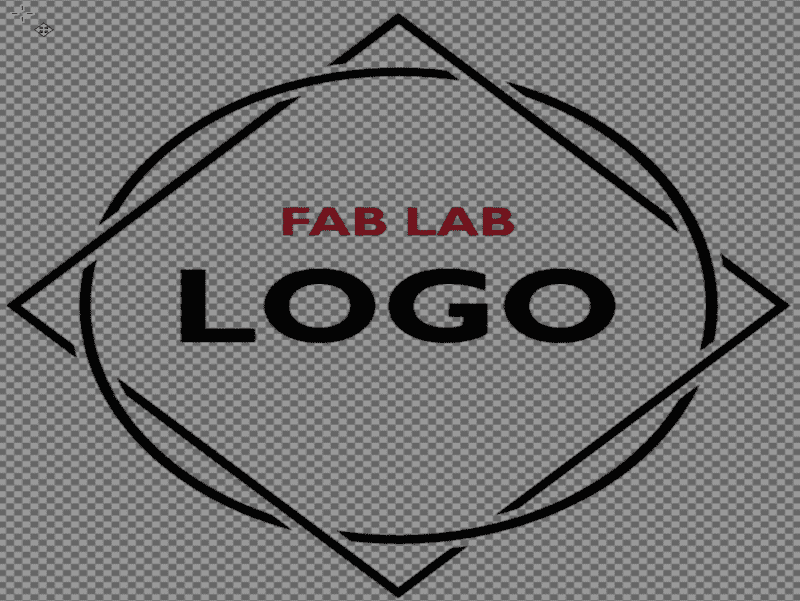
Afterwards, I exported the file as a png file and saved it.
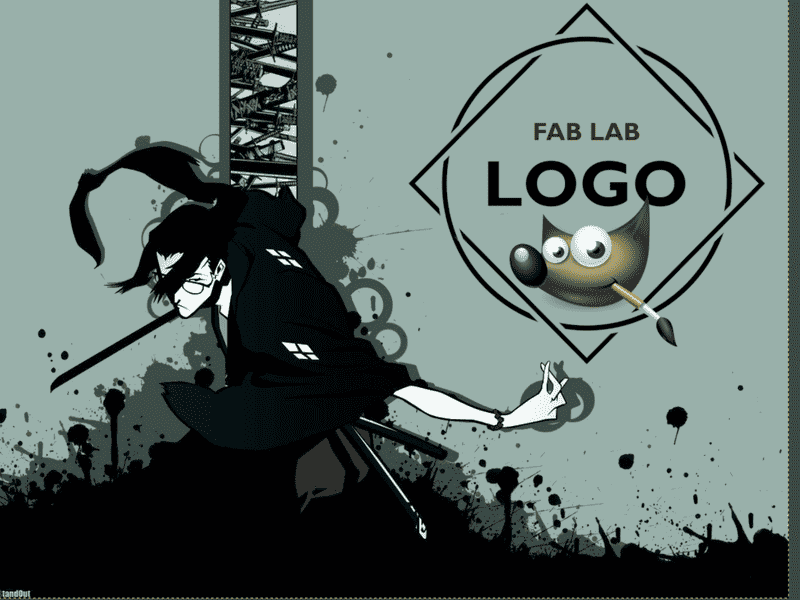
Then to test it out, I selcted another image and pasted it there, resized it and added another image from within gimp.
Inkscape (Vector Graphics)
Inkscape is an open-source software for vector files and 2D design. I am gonna use inkscape as my 2d graphics tool while there are others inkscape was the one recommended to me by others though I have never used it before. I started by downloading it and installed it on my computer.
.png)
I then watched few youtube tutorials to get the basics down.
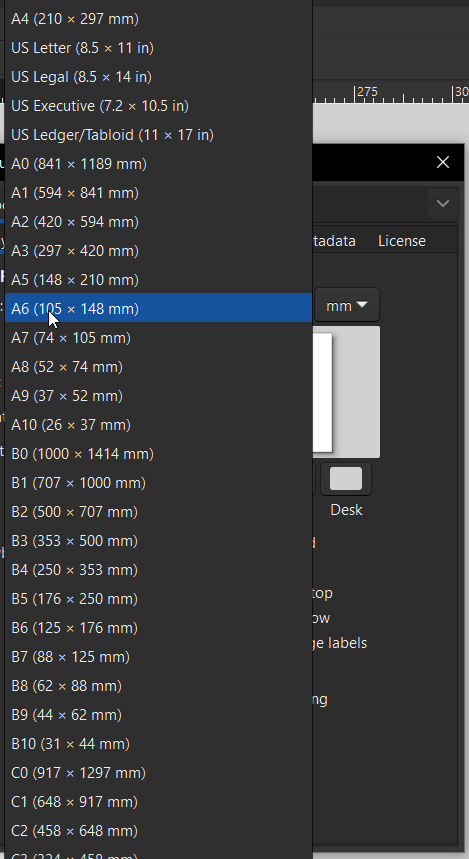
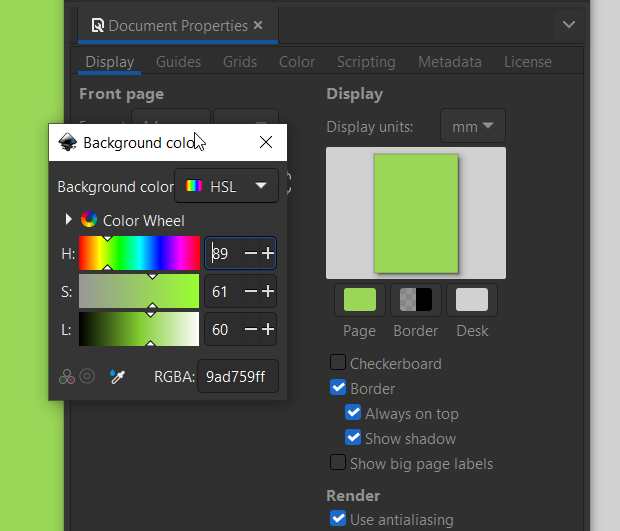
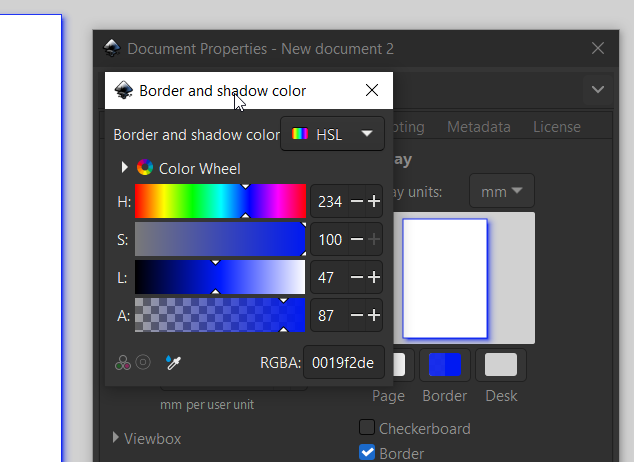
By going to document properties you can change certain things about the page you are working on but these do not effect the drawing or whatever you are working on only the page.
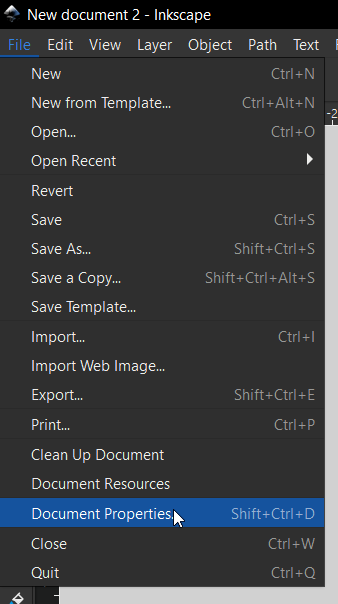
- Page size
- Units
- Background color
- Border Colour
Common path operations
In Inkscape, paths are the backbone of vector graphics. They consist of nodes and segments, allowing for precise control over shapes and designs. Here are some common path operations you can perform:
Union: Combines two or more paths into a single path, merging their shapes.
Difference: Subtracts the shape of one path from another, creating a new path that represents the area of the first path minus the second.
Intersection: Creates a new path that represents the overlapping area of two or more paths.
Exclusion: Combines two paths but removes the overlapping area, creating a new path that represents the non-overlapping parts.
Division: Divides one path into two or more paths based on the intersection with another path.
These operations are essential for creating complex shapes and designs in Inkscape. You can access them through the "Path" menu or by using keyboard shortcuts.
Common Inkscape Shortcuts
Using keyboard shortcuts in Inkscape can significantly speed up your workflow. Below are some commonly used shortcuts that help with drawing, editing, and managing objects in your design.
| Action | Shortcut |
|---|---|
| Select tool | S |
| Node tool | N |
| Zoom in/out | Ctrl + mouse button |
| Duplicate | Ctrl + D |
| Group / Ungroup | Ctrl + G / Ctrl + Shift + G |
| Undo / Redo | Ctrl + Z / Ctrl + Shift + Z |
| Remove page navigators | Ctrl +b |
| Move selection (large steps) | Shift + Arrow keys |
| Align and distribute | Shift + Ctrl + A |
| Convert object to path | Shift + Ctrl + C |
| Union / Difference | Ctrl + + / Ctrl + - |
| Save | Ctrl + S |
Desiging an Object
I didn't have anything major in mind to design and just wanted to go simple to show off my inkscape skills. I designed a ying-yang symbol for like my keychain.
I started off with a new project and changed the page orientation to landscape and units to px.
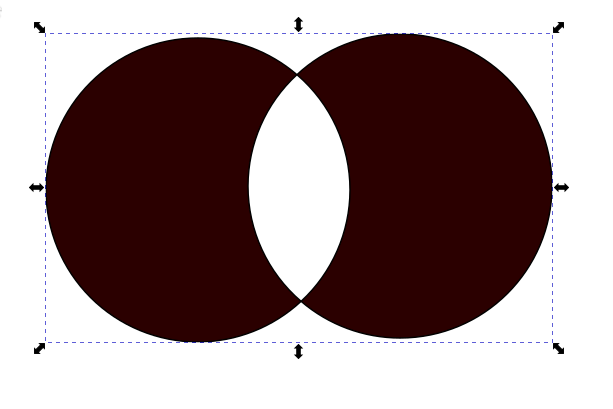
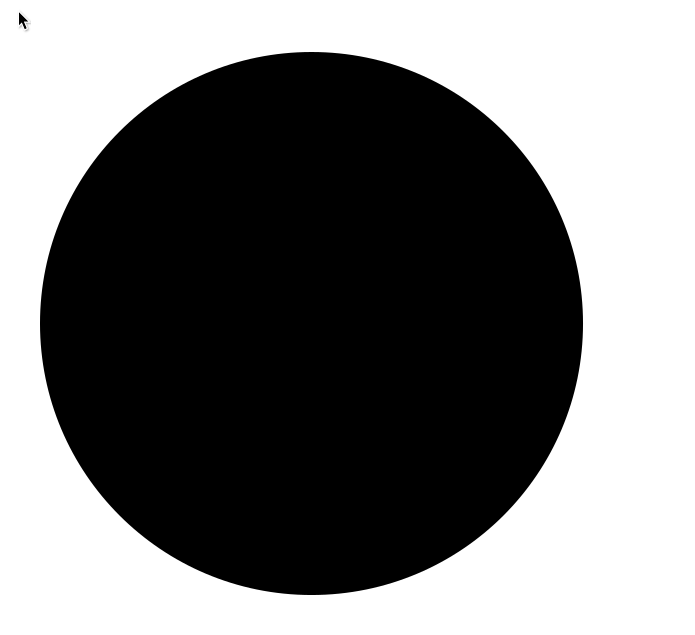
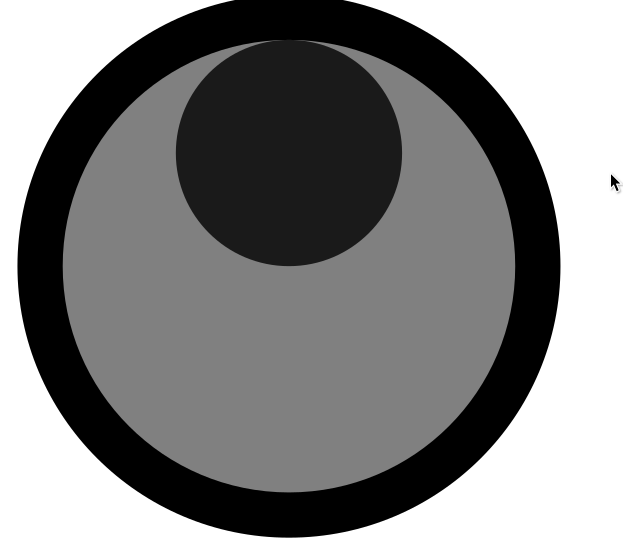
I then made a cirle while holding ctrl so its perfectly round and resized it to 600px. I also used the align and distibute to align it to the middle of the page.
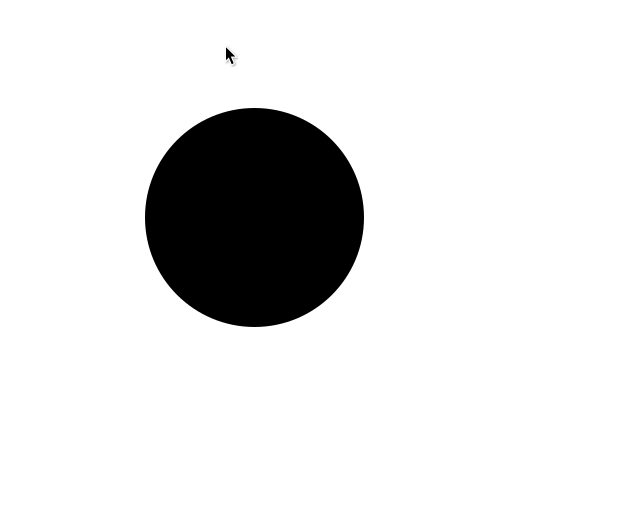
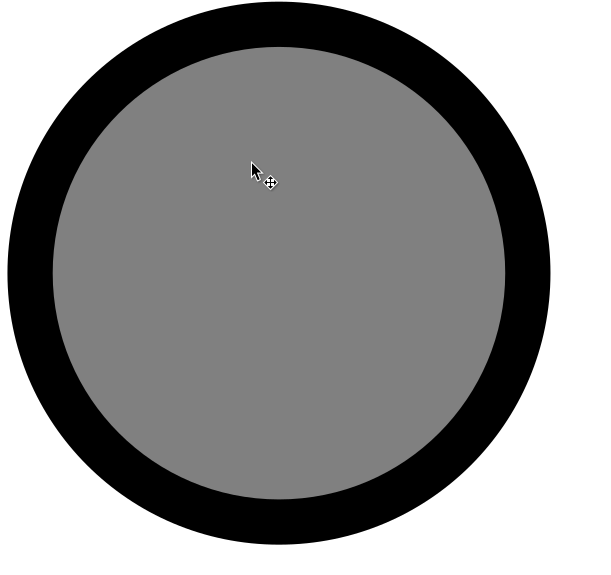
I then duplicated the circle and changed its colour to grey and reduced its size by 100px. Then I aligned the grey circle to the centre of the page.
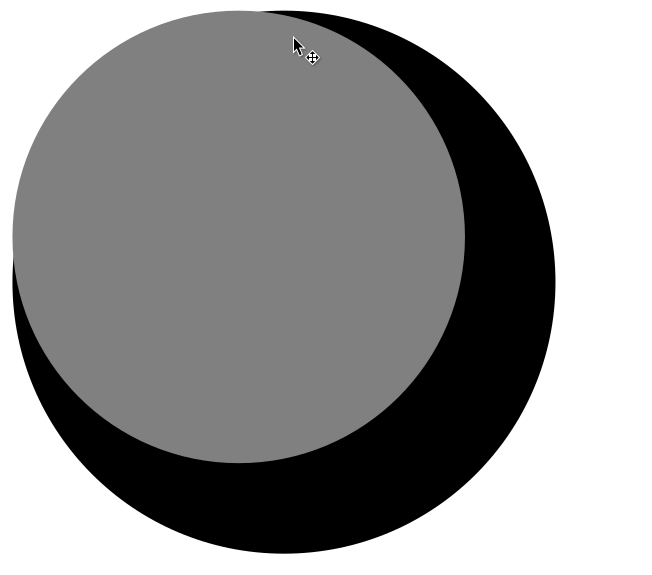
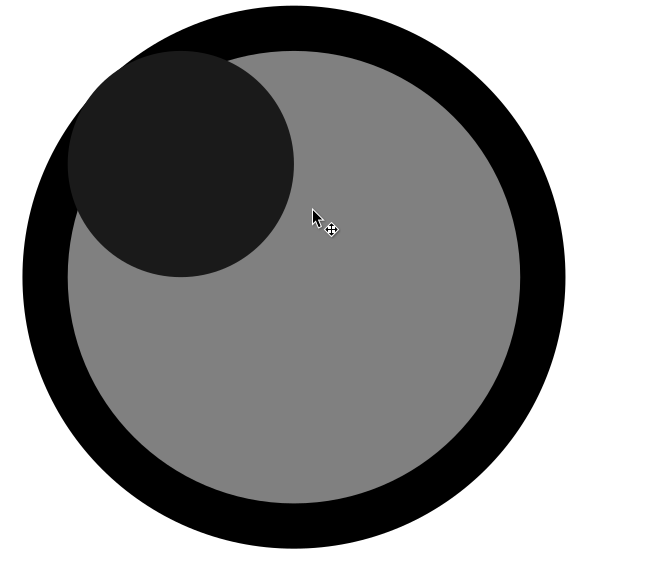
Next I made a smaller circle by duplicating the grey one and changed its colour to black and halfed its size.Afterwards, I aligned it to top of the grey circle by selecting both circles and used relative to last selected.
I then duplicated the small circle and alligned it to the grey one's bottom edge.
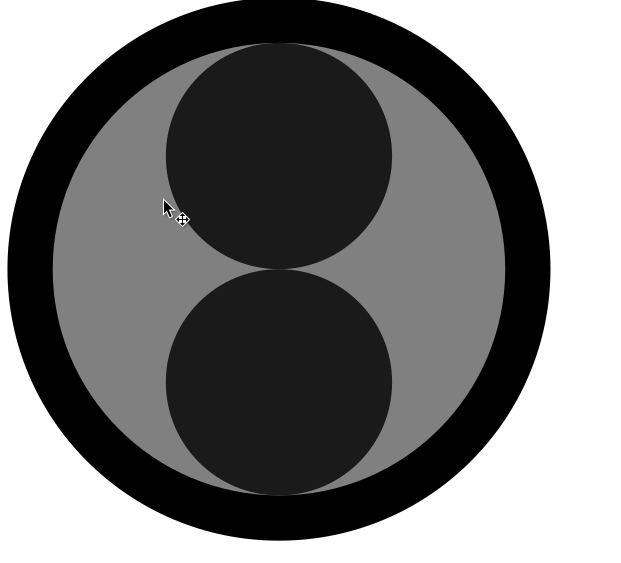
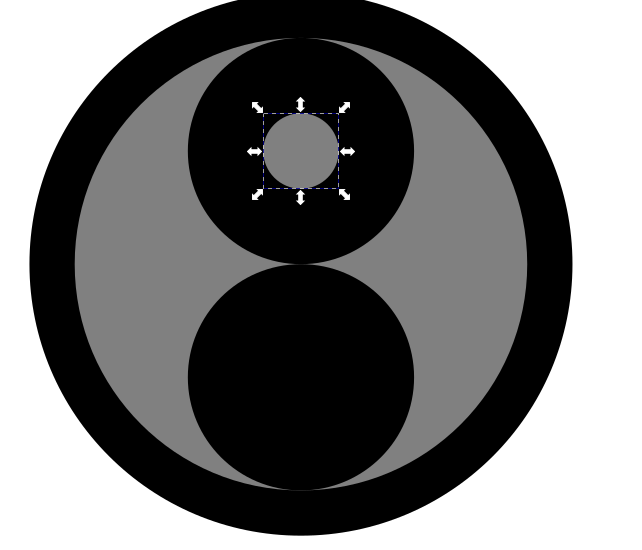
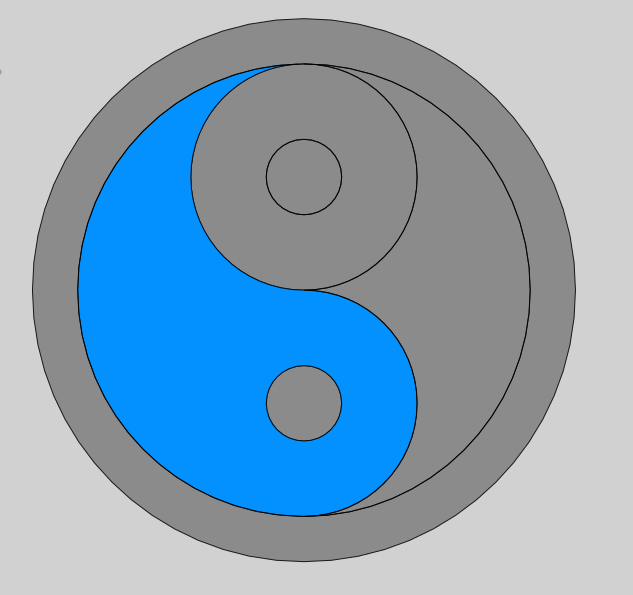
I then changed the colours of both circles to black and duplicated a smaller circle 1/3rd of its size and alligned it to the centre. I then repeated the process and made another small circle and alligned it.
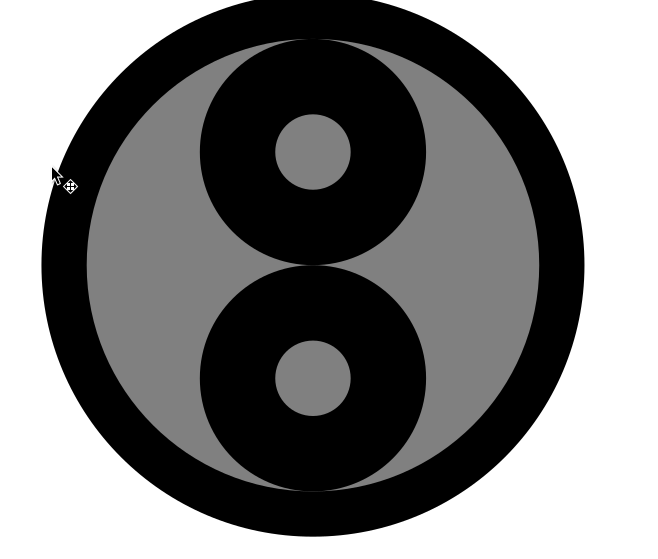
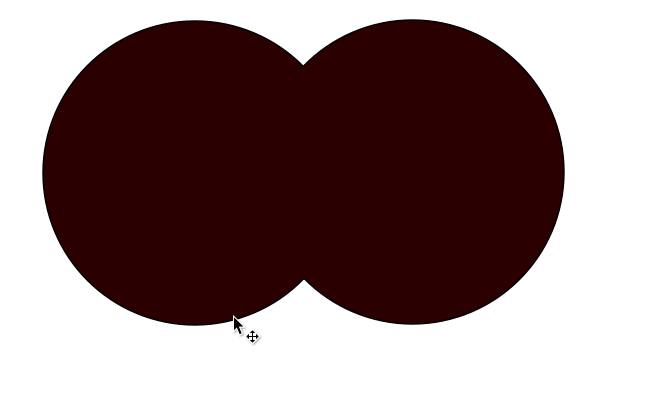
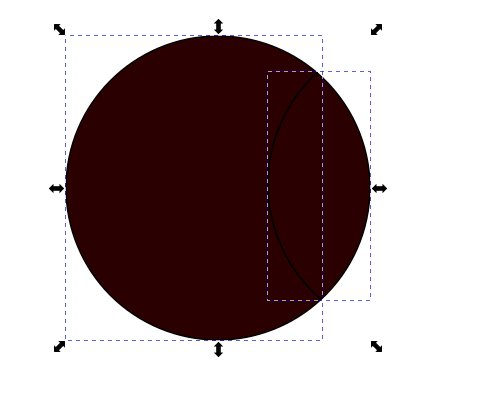
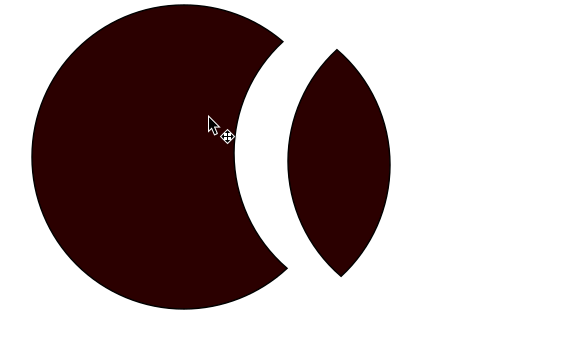
Afterwards, I selected everything and went to the shape builder tool.
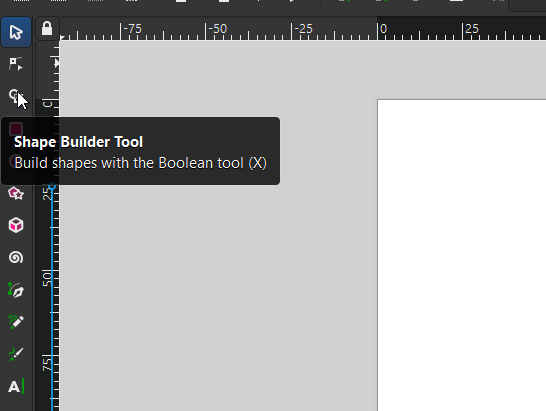
In the shape builder tool I selected the add and joined two of the circles. Then I joined the rest.

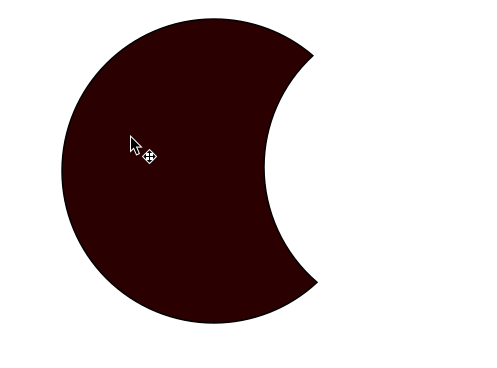
Moreover, I then selcted the delete tool and deleted parts of the circle I didn't need.
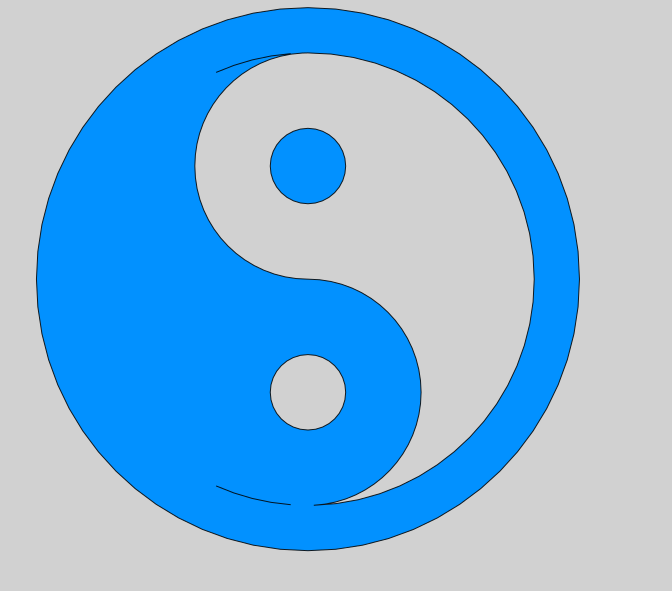
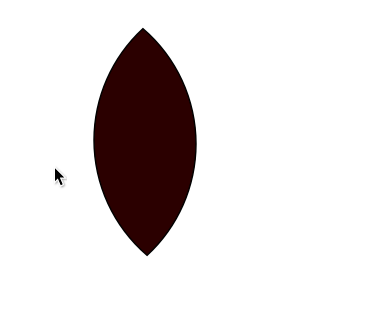
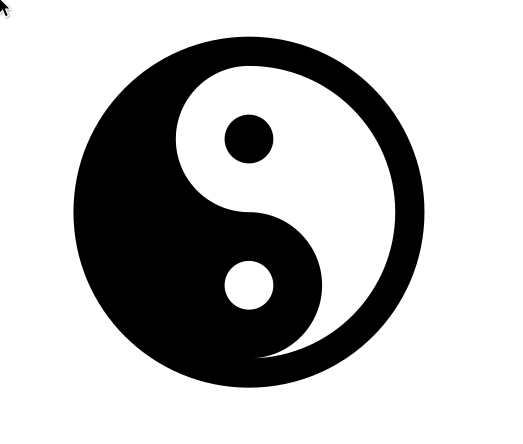
Afterwards, I went back and selected the objects as one of the circles was still being treated as a second object and used union on them and then changed its colour to black, giving the final object.
3D Modelling
For 3D modelling I used Fusion 360 as it is a free software for students and has a lot of features though I had never used it before. I started by downloading it and installing it on my computer.
Core Features
- Parametric Modeling: Modify features via parameters and history.
- Sketching: 2D geometry creation as the basis for 3D models.
- Solid and Surface Modeling: Create complex 3D shapes.
- CAM: Toolpath generation for CNC machining.
- Simulation: Test strength, motion, and thermal performance.
- Assemblies: Combine multiple components to simulate mechanical systems.
- Rendering: Create photorealistic visualizations of your designs.
Basic Workflow
- Create a sketch on a plane (e.g., circle, rectangle).
- Use features like Extrude or Revolve to make 3D bodies.
- Add details with tools like Fillet, Chamfer, Shell.
- Combine parts into assemblies using joints.
- Export your model for 3D printing, CNC, or sharing.
Fusion 360 Keyboard Shortcuts
| Action | Shortcut |
|---|---|
| Line | L |
| Rectangle | R |
| Circle | C |
| Dimension | D |
| Extrude | E |
| Press Pull | Q |
| Fillet | F |
| Move | M |
| Offset | O |
| Revolve | R (context sensitive) |
| Mirror | Ctrl + M |
| Pan View | Shift + Middle Mouse |
| Orbit | Middle Mouse (Hold) |
| Zoom | Scroll Wheel |
| Finish Sketch | Stop Sketch (button only) |
Tips
- Use the timeline to go back and edit earlier features.
- Use constraints in sketches to control shape precisely.
- Save frequently; Fusion auto-saves to the cloud but also allows versioning.
- Use components to manage parts in an assembly.
Creating a 3d-Model
I first opened fusion 360 and created a new file.
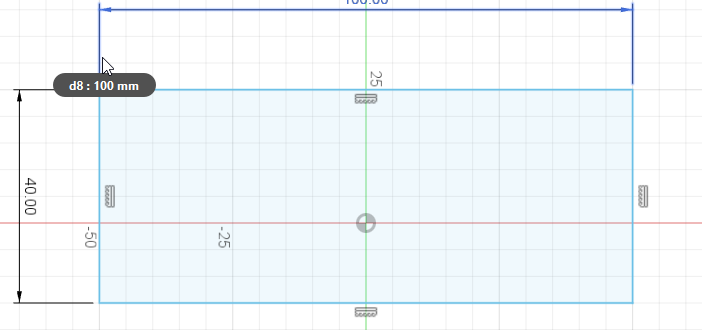
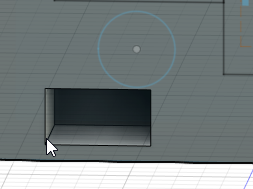
Then I went to new sketch and selected the front plane. I started with a simple rectangle.

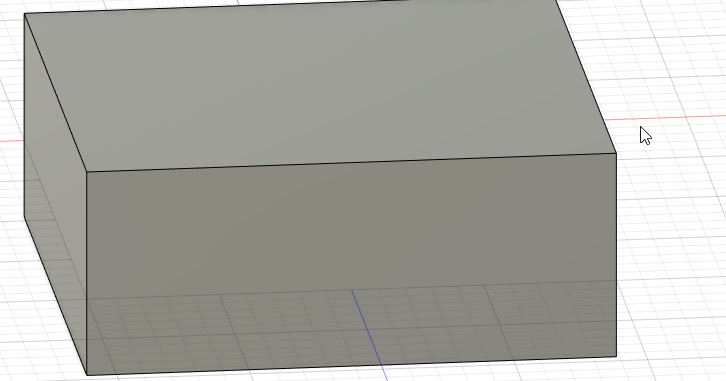
Afterwards, I extruded the rectangle.
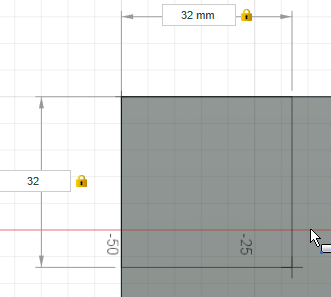
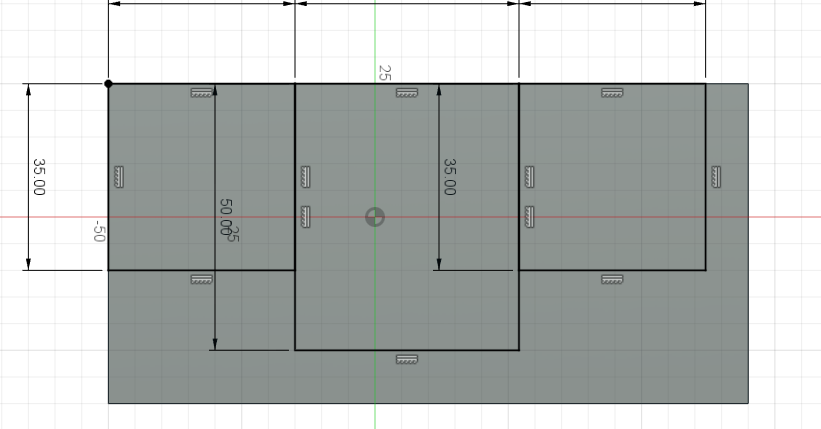
I then went back to sketch mode selecting the front face. I created a square space for my LED matrix.
Afterwards, I created a rectangle for my LED touch screen and another square for my 2nd LED matrix.
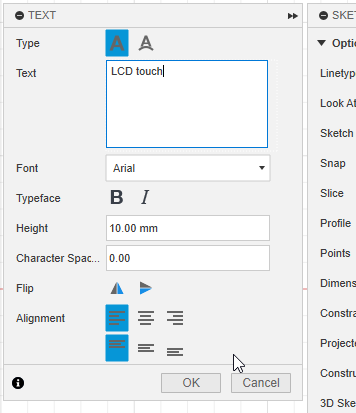
I then added text to my boxes to identify which is which.
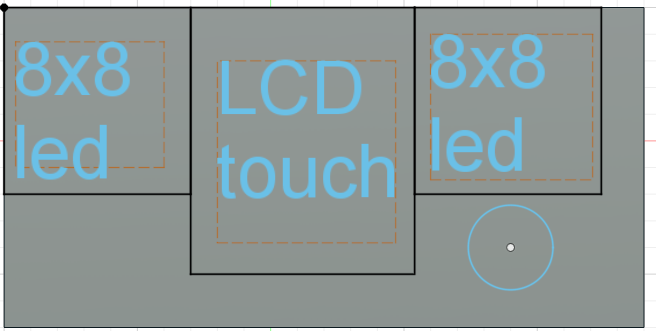
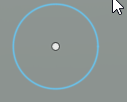
I then created a small circle for my on/off button.
I then selected finish sketch and used extrude to give space for my button.
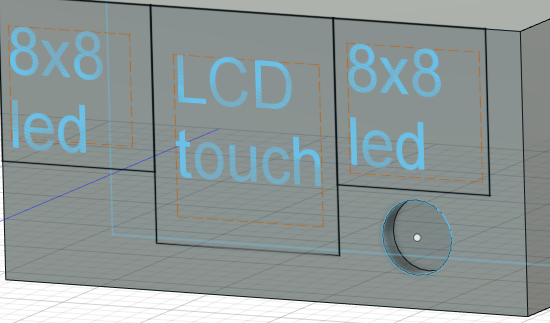
Then at the back of the object I added a small space for a usb connector to go through.
In reality, all the inside space will be hollow so components can fit in and the back will just be screwed on to it.
Download Files
 ← Back to Main Page